Nix Mini 3
Set-up guide
Contents
Getting started
Congratulations on purchasing a Nix Mini 3 Color Sensor! Let’s get you set up with this simple video.
Don’t feel like watching a video? You can find our instructions written out below.
What's in the box

Nix Mini 3

USB-C Charging Cable

Lanyard
Diagnostics Tile
Set-up steps
Step 1
Wake up your device
Wake up your Nix Mini 3 by plugging it into the USB-C cable, and the cable into a charger. A light on the bottom of the device will indicate it’s connected to power. As it’s charging, it will pulse orange. Once charging is complete, it will pulse green. Make sure to allow your device to fully charge before unplugging (about 3 hours).
Step 2
Download the app
Download the free Nix Toolkit App from either the Google Play store or Apple App Store.
![]()
![]()
Step 3
Enable location + wireless connectivity permissions
You must allow location services and wireless connectivity on your device for your Nix Mini 3 to function.
Step 4
Connect your device
In the top right of the Nix Toolkit App, select the device icon. Choose “Connect to Nix” and select your Nix Mini 3 from the list.
Step 5
Start scanning and measuring colors
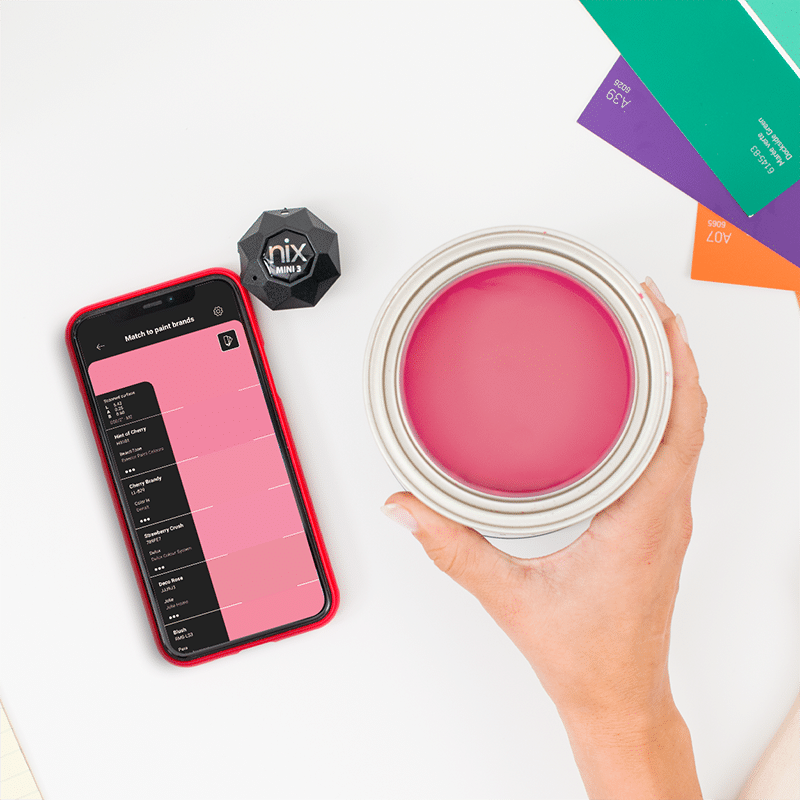
Place your Nix Mini 3 firmly on any flat surface for the most accurate results. Remember to save and share your scans!
Tips + tricks
Maintaining your device:
- Charge your device every month when not in use
- Keep the lens clean of all dirt, lint, and smudges
- Dust and debris can be removed by gently wiping the lens with a dry microfiber cloth
- Avoid dropping or hitting your device
- Don’t use outside of 5 – 35°C temperature range. If you bring your device in from outside, allow it to come to temperature slowly to avoid condensation.
Using the Diagnostics Tile
If you are concerned about the accuracy or performance of your Nix Mini 3, we’ve provided you with a Diagnostics Tile to eliminate your worries. You also might’ve been directed here by Nix customer support to find an answer to your issue. Follow the steps listed to learn how to properly use your diagnostics tile.
If your device has failed diagnostics after multiple attempts, please submit a ticket to contact our support team.
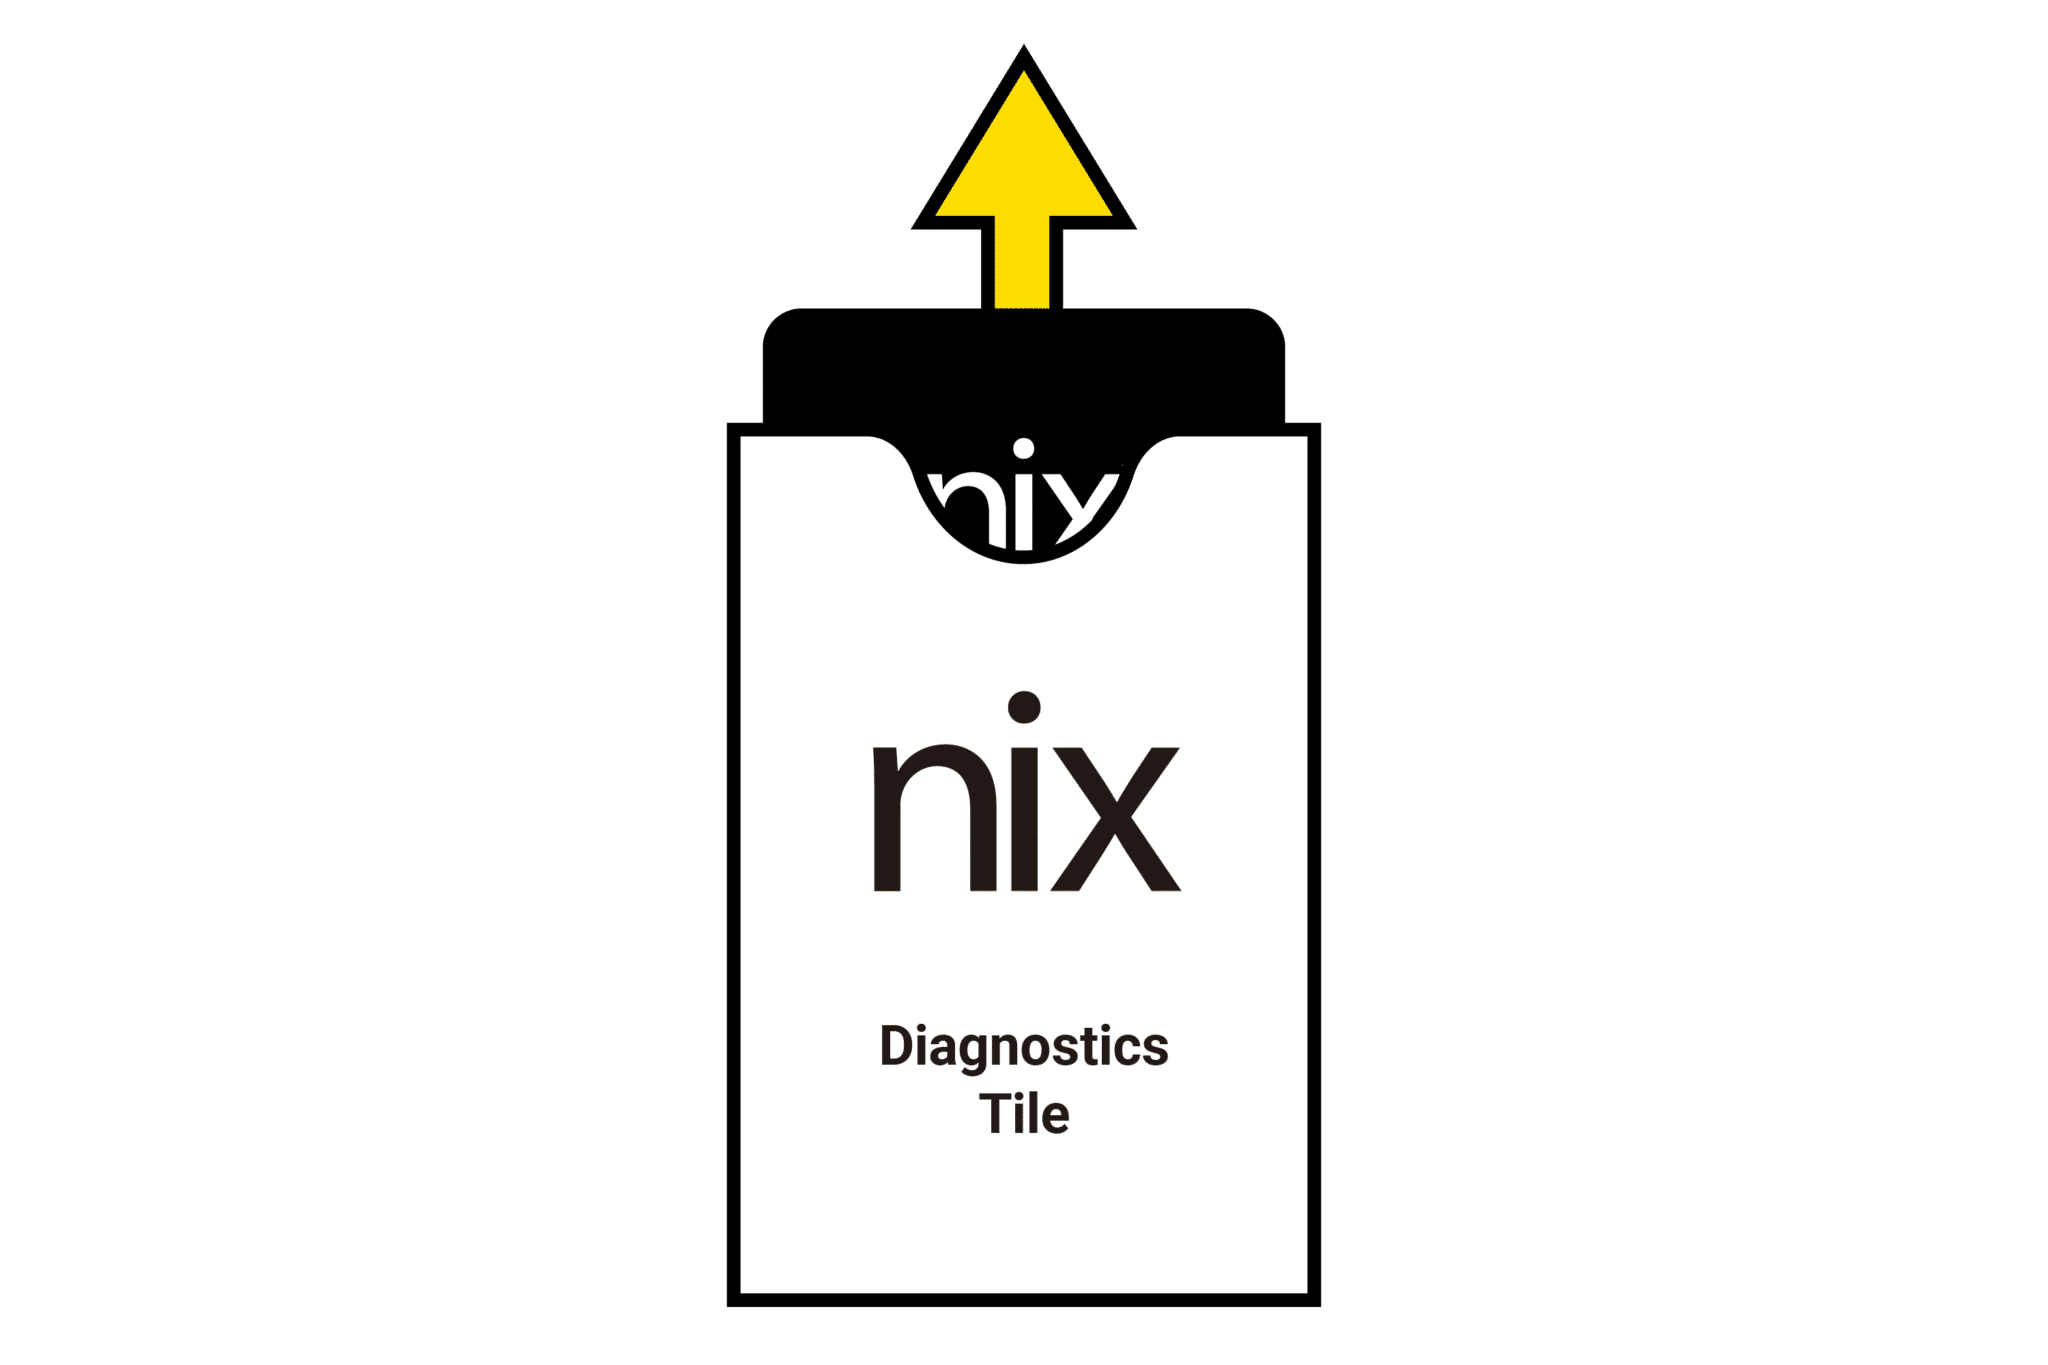
1
Take the Diagnostics Tile out of the included protective sleeve.
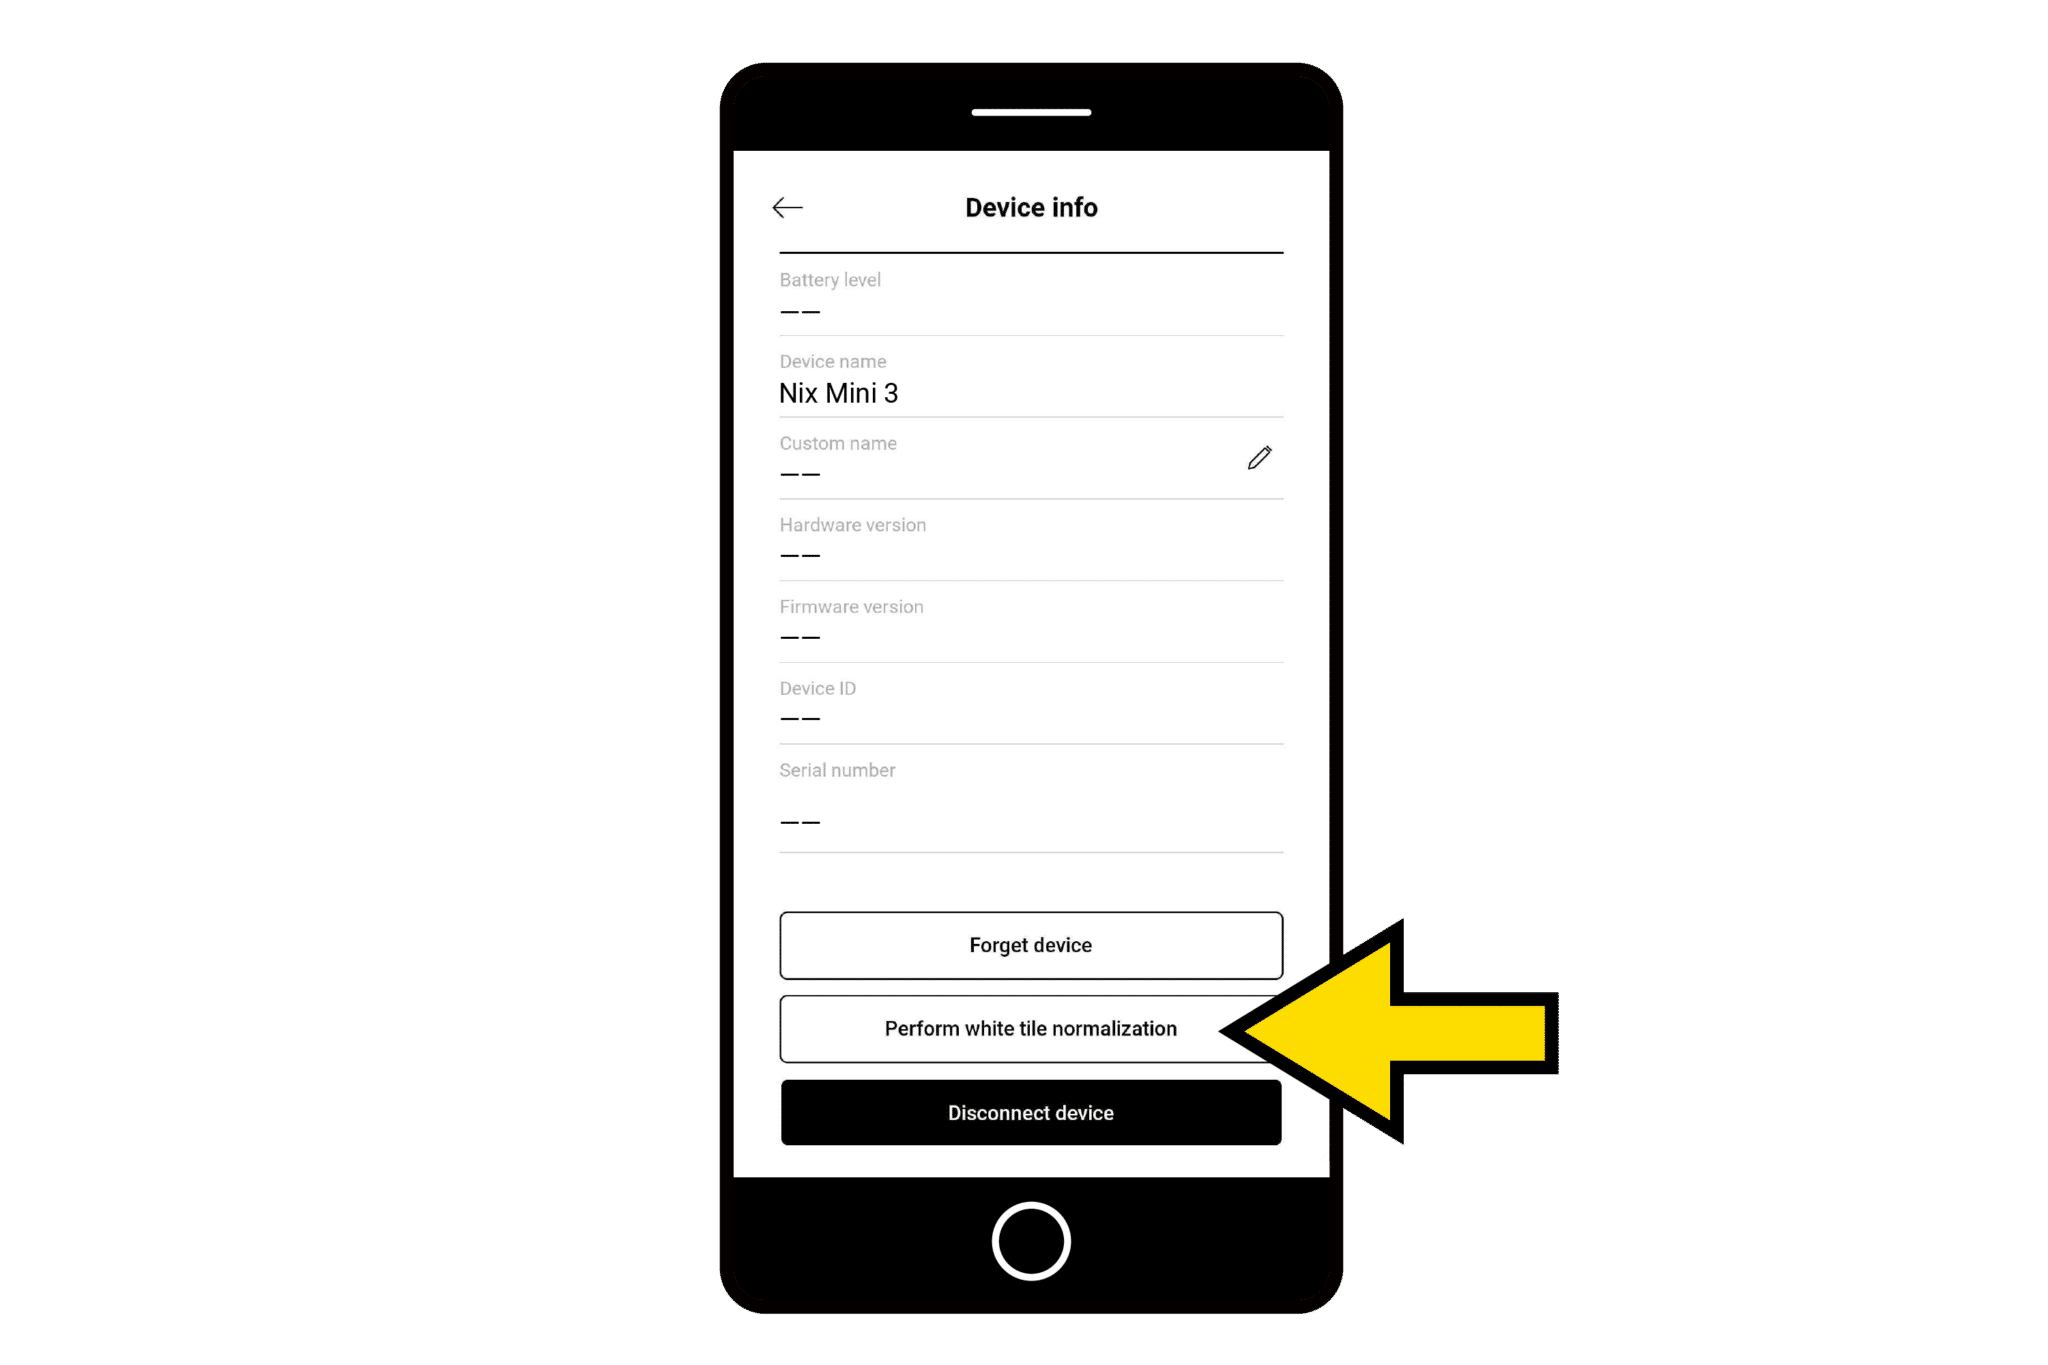
2
From the Nix Toolkit app, open up device info and select “Perform white tile normalization”.

3
Walk through the steps on your app, and scan the QR code on the Diagnostics Tile (make sure you enable permissions for the Nix Toolkit app to use your camera).

4
Place your Nix Mini 3 on the center of the white patch below the QR code. Press “Validate” in the Nix Toolkit app to run diagnostics.
RGB light indicator
A LED light on the bottom of your Nix Mini 3 indicates certain activity related to your device. Refer to the table below for information related to the light. For any RGB feedback not mentioned in the tables below, please reach out to our support team by submitting a ticket and we’ll be happy to help you resolve your issue.
Color
Feedback
Description
Orange
Pulsing (continuously)
Plugged in and charging.
Green
Solid green
Plugged in and fully charged.
Cyan
2 pulses, stays solid on second pulse before fading out
Wireless connection opened/closed.
Red
Blinking Red (continuously)
Please contact Nix support
FAQs
Device
How do I reset my device?
The Nix Mini 3 automatically restarts its firmware when a USB charger is attached. The Nix Mini 3 does not have or need a manual reset button.
My device seems stuck
If you’re having trouble with your device, try these steps:
- Force quit and restart your app.
- Recharge your device until the Nix lid is pulsing green (indicating charging is complete).
- If you’re still experiencing issues, submit a ticket to contact our support team.
I've tried everything and my Mini 3 won't connect. What do I do?
- Make sure your device is close to your phone before pairing.
- Follow the set-up steps above.
- Follow the Mini 3 troubleshooting form (you can submit a contact request through the form as well).
Charging time and procedure
Charging your Nix Mini 3 should take approximately 3 hours from a standard USB charger. When charging starts the light on the bottom of your device will pulse orange. When charging has completed it will pulse green.
Diagnostics tile
What's the Diagnostics Tile for?
The Diagnostics Tile allows for periodic testing and validation of your Nix Mini 3 for:
- Performance + accuracy
- Submitting diagnostics information to Nix Sensor support
How often should I use my diagnostics tile?
You only need to use your Diagnostics Tile if:
- You are suspect of your device’s accuracy or performance.
- If you are directed to do so by Nix Sensor support.
My device failed diagnostics. What should I do next?
- Try again to make sure the diagnostics was performed correctly (follow these steps).
- If your device is still failing diagnostics, submit a ticket to contact our support team.
How do I care for my Diagnostics Tile?
Keep your Diagnostics Tile in its protective sleeve when it’s not in use. Keep your tile in a clean, dry, secure place. Do not attempt to clean your tile.
Happy with your Nix Mini 3?
Consider leaving us a review!
Please note, you will be required to log in to your Amazon account