Dulux Set-up Guide
Thank you for supporting Nix! The following guide will get your Dulux Colour Sensor up and running.
Your Nix Mini should come with:
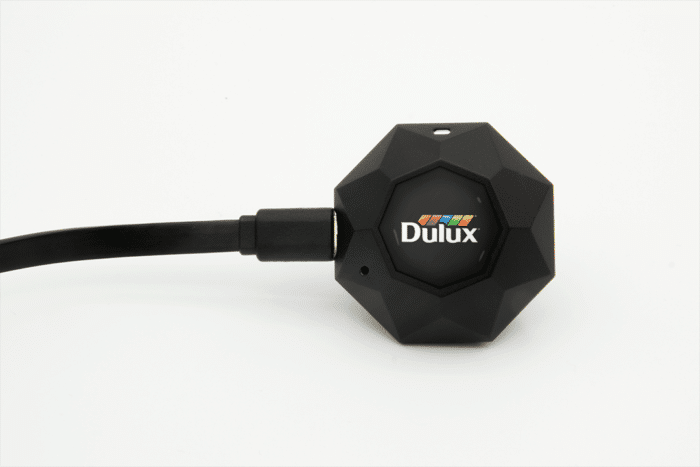
- 1 x Dulux Colour Sensor
- 1 x Micro USB charging cable
- 1 x Lanyard
Step 1: Wake up your Dulux Colour Sensor
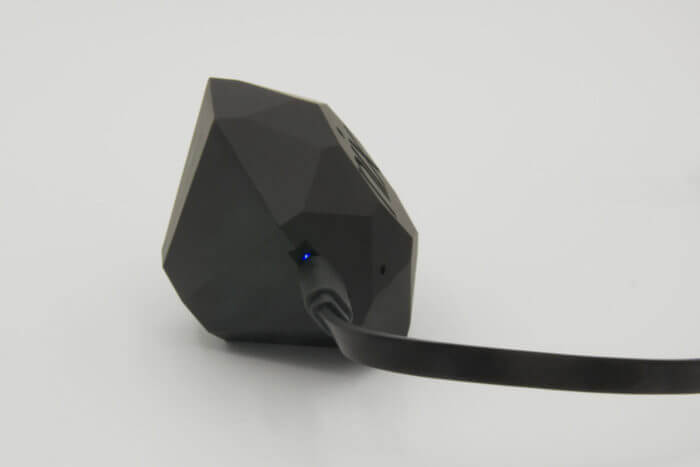
The Dulux Colour Sensor arrives in a “sleeping” state. Wake it up by plugging it in to any standard charger.
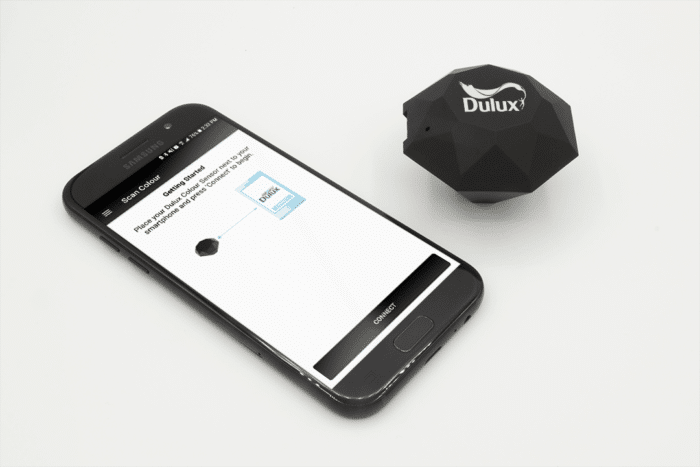
Step 2: Launch the app and Connect your Device
Download the Dulux Colour Sensor App:
![]()
![]()
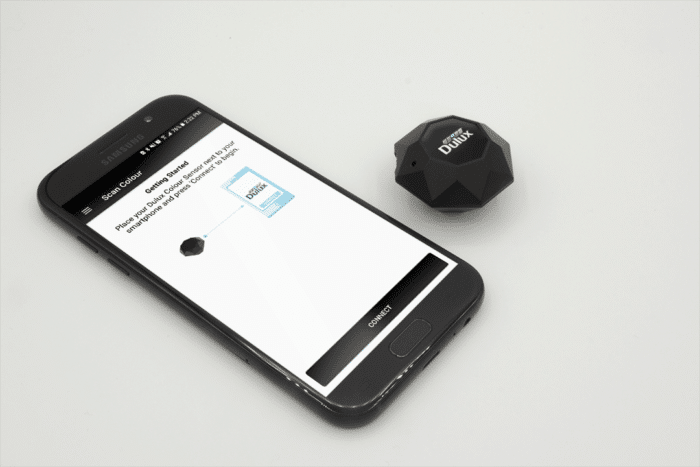
Launch the app and connect your Dulux Colour Sensor!
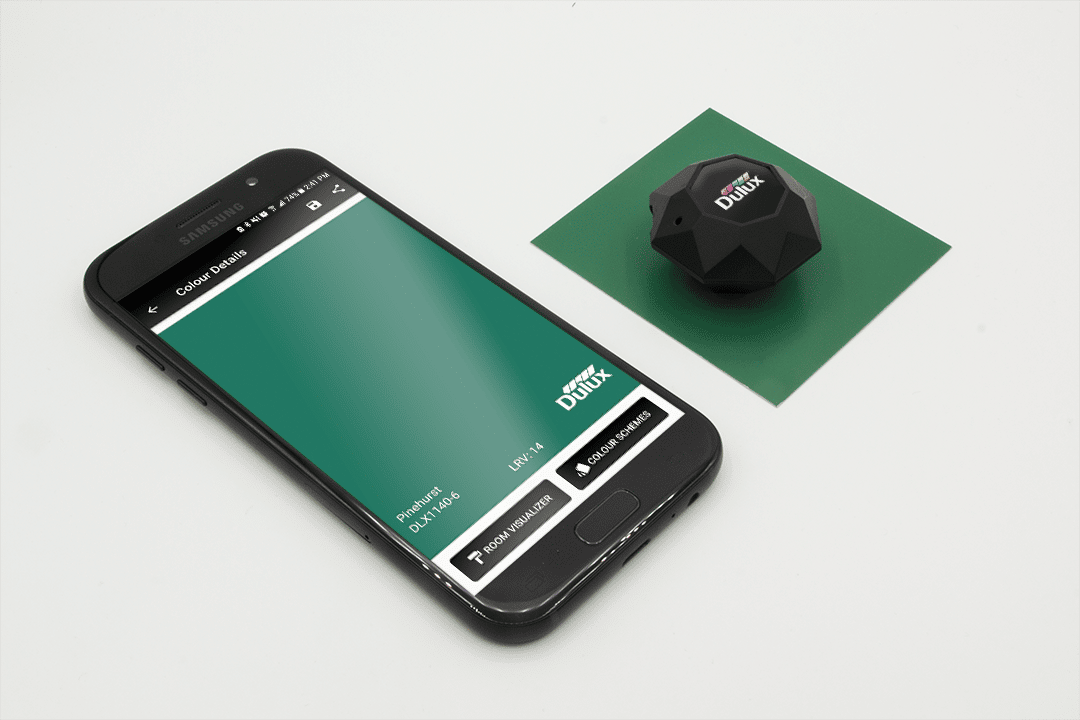
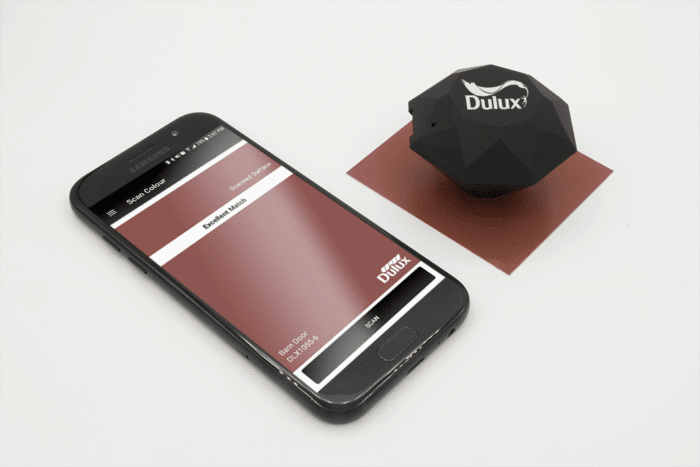
Step 3: Start Scanning!
Place your Dulux Colour Sensor flat on any surface and start scanning. Remember to keep the device flush with surface for accurate results.
Your Nix Pro should come with:
- 1 x Dulux Colour Sensor
- 1 x Micro USB charging cable
- 1 x Microfiber carrying pouch
Step 1: Wake up your Dulux Colour Sensor
The Dulux Colour Sensor arrives in a “sleeping” state. Wake it up by plugging it in to any standard charger.
Step 2: Launch the app and Connect your Device
Download the Dulux Colour Sensor App:
![]()
![]()
Launch the app and connect your Dulux Colour Sensor!
Step 3: Start Scanning!
Place your Dulux Colour Sensor flat on any surface and start scanning. Remember to keep the device flush with surface for accurate results.
Contact Nix Support
Need some additional guidance? We’ll help you get set up in no time! Give us a call toll free (NA) at 1.800.649.1387 or use the live chat function in the bottom corner of this page to reach a technical support member in our Canadian office.